
Earlier this year, I started working on a makeover in my best friend, Parisa’s, daughter’s room. Her name is Darya – she’s about to be 10 and was ready for a fresh look in her room. We kicked things off with some board & batten and the most beautiful wallpaper. We’re getting ready to finish up a few projects in there and call her room done, but first there’s been a lingering project on my to-do list ever since we did these first couple of projects.
Remember how I found this behind the door in Darya’s room?
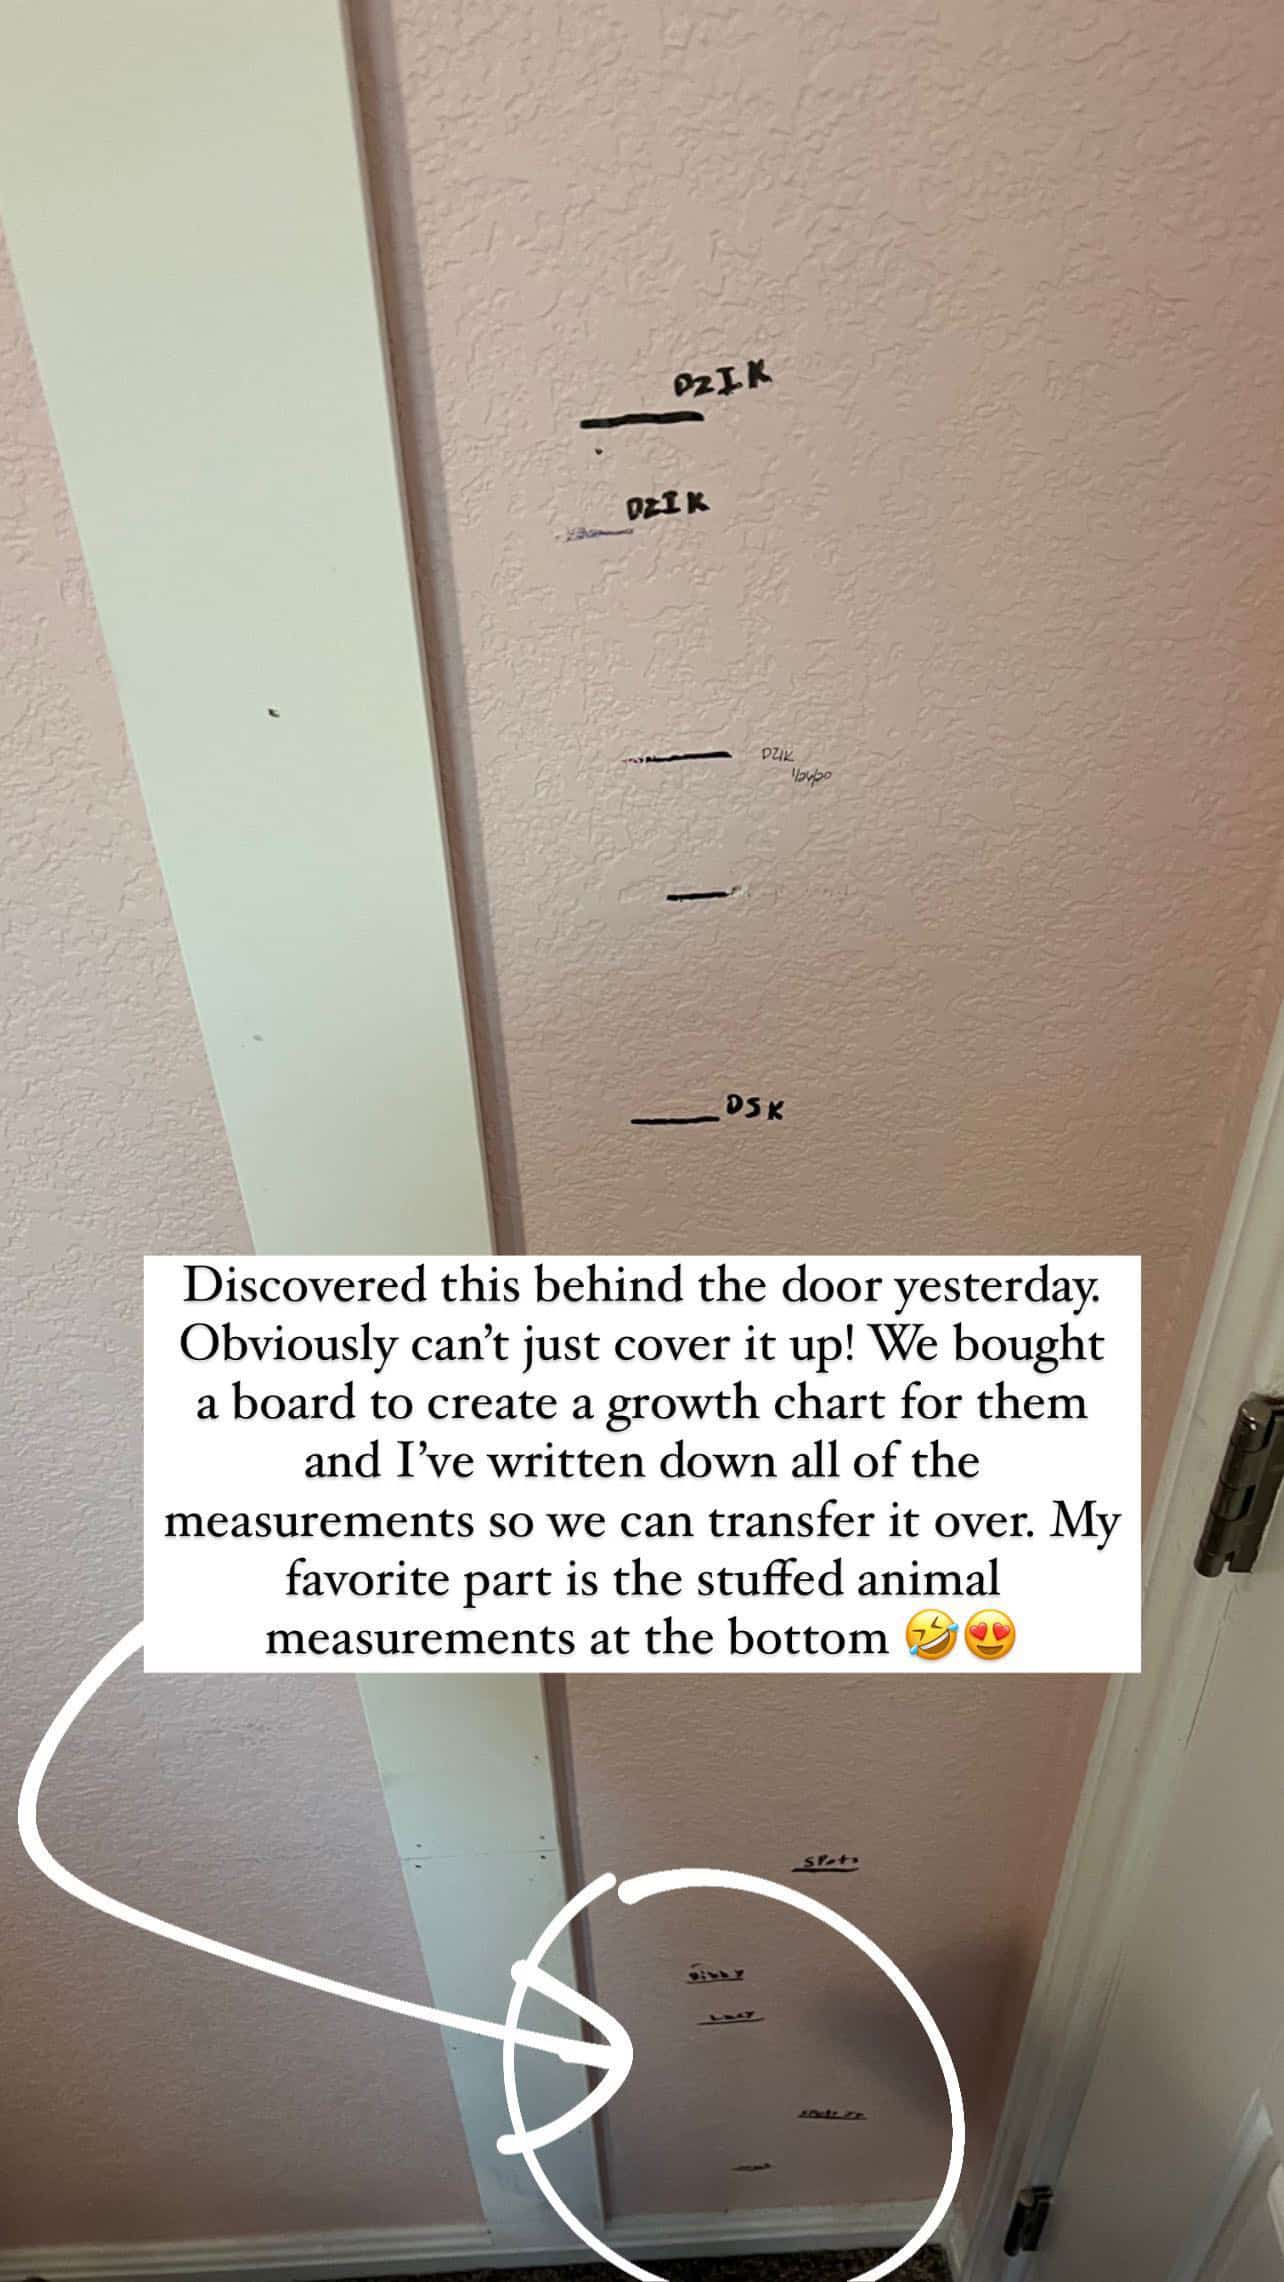
My heart literally ached to paint over all of those sweet markings and memories. I couldn’t just sit back and watch all that get painted away, so before I started painting I took a minute to jot down all of the measurements.
I’ve been meaning to put together a wooden growth chart for them for months now, but it kept getting pushed back. But, her younger daughter Dylan’s birthday was last week and I was determined to get the growth chart done in time for her to be measured on her birthday!
I love having a wooden growth chart like this over just marking things on the wall – we’ve had our growth chart since our first house! It’s been hung in a place of honor in every house we’ve lived in, and I would have been heartbroken if we’d had to leave behind markings on a wall or door frame in our first house.
This is a project I’ve already covered in detail here on the blog (see the original tutorial here!), but it’s been a while so I figured it was worth a little update.
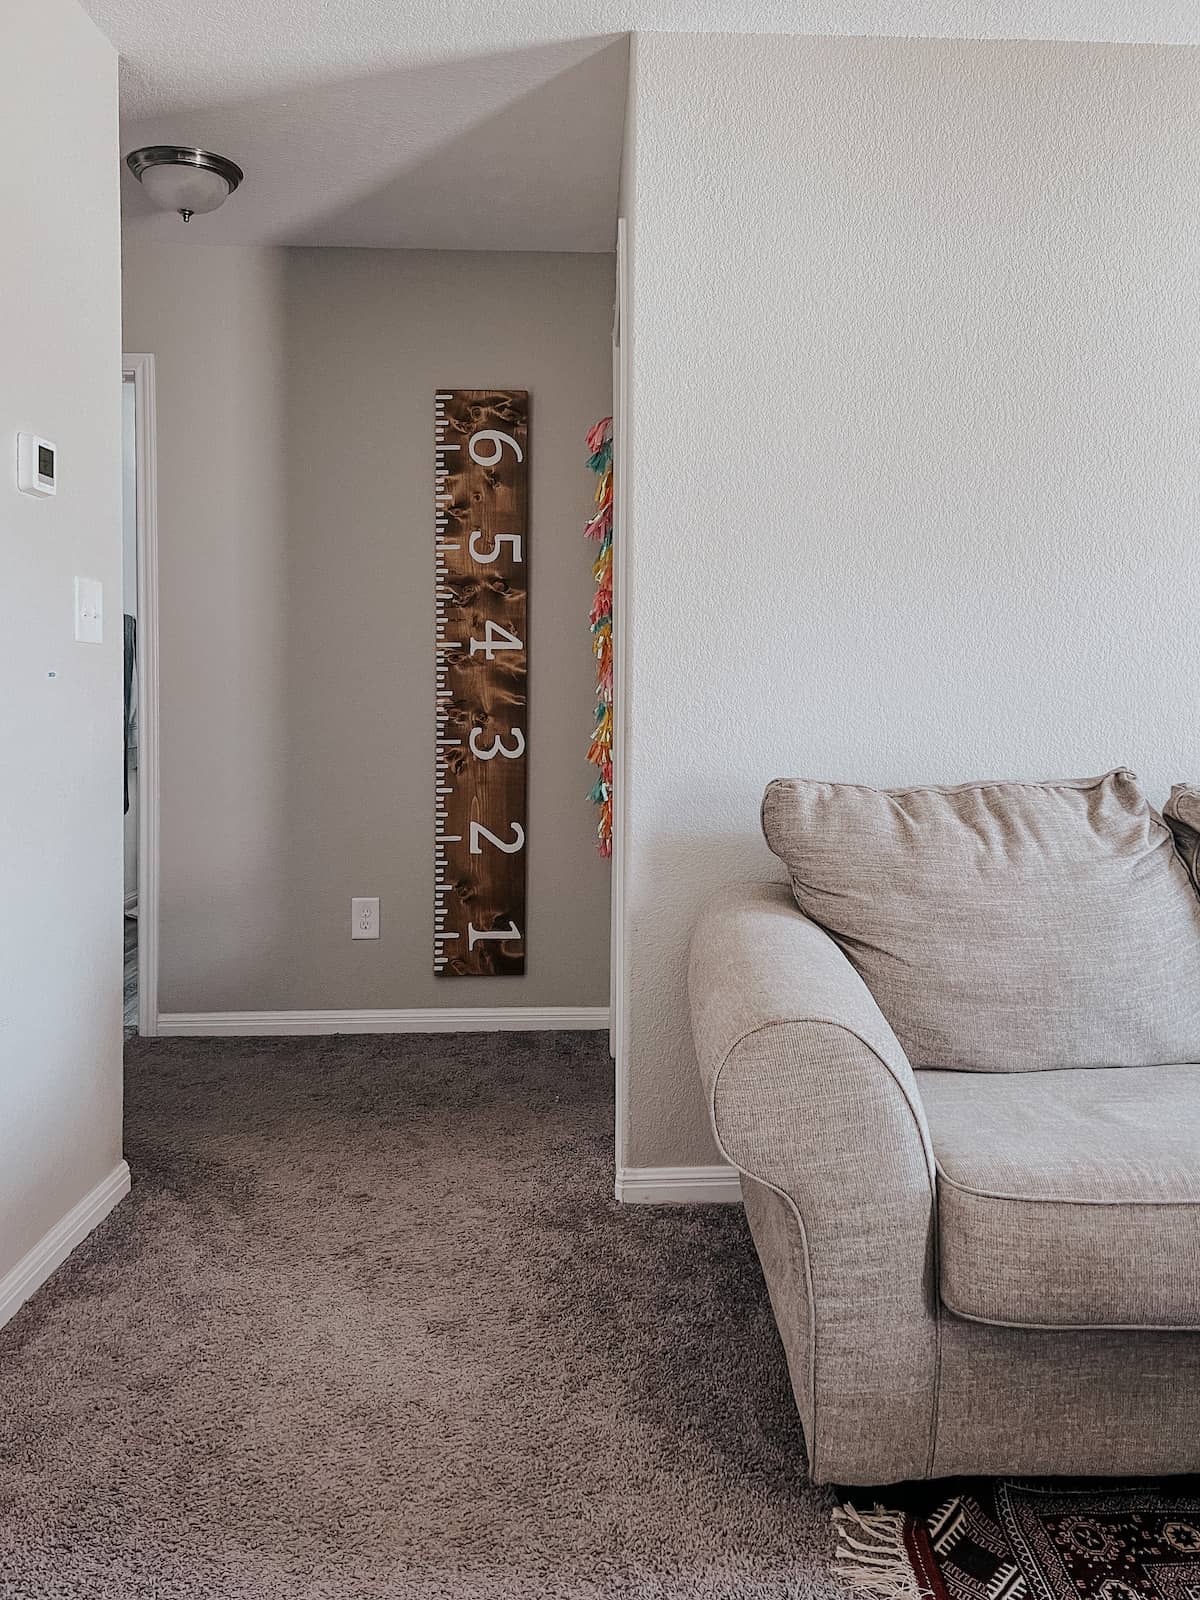
But first? Here’s how it looks hanging in Parisa’s play room:
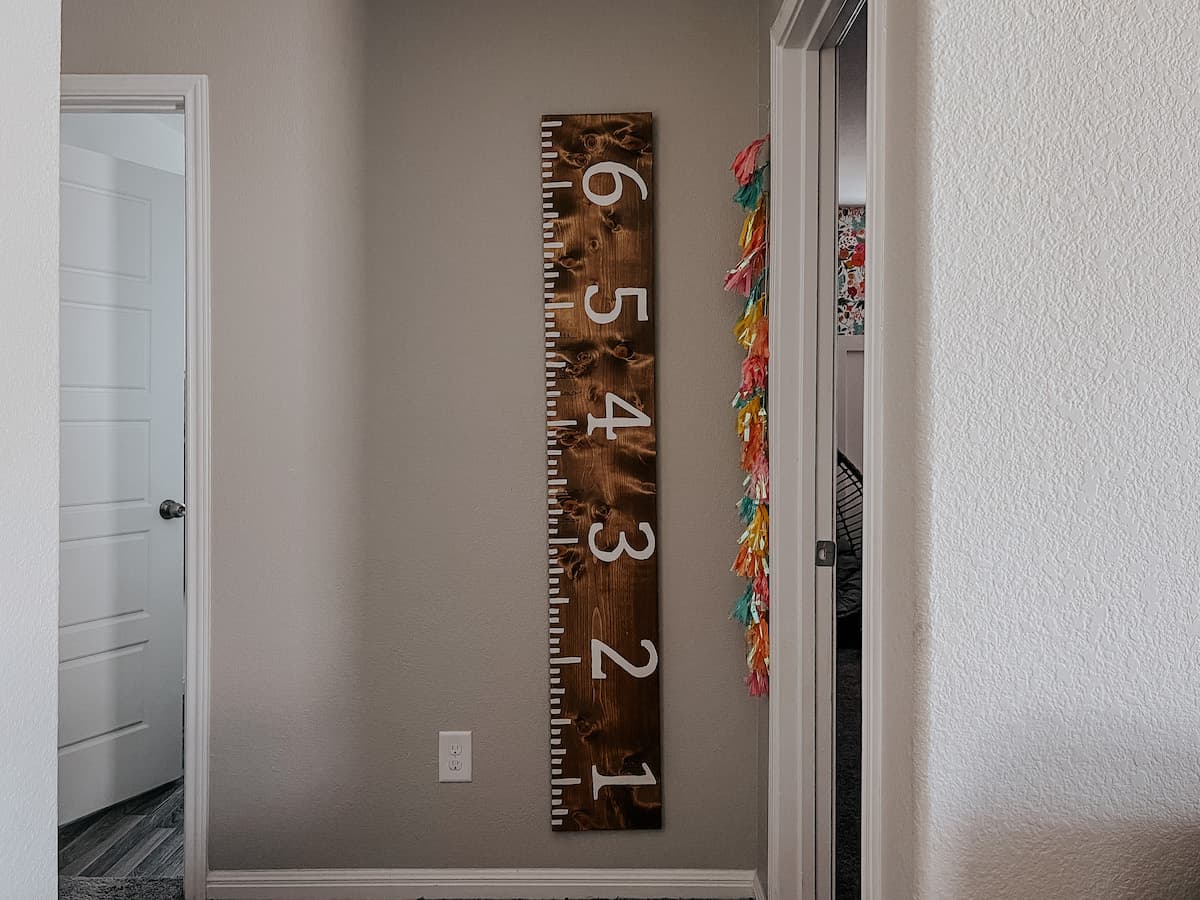
So much better than a few pencil markings hiding behind a door, no?!
how to make a diy wooden growth chart
materials needed
- (1) 12×6 board (I just used pine, you could use something nicer if you’d like!)
- Power sander
- Stain
- White paint
- Tape measure
- Picture hanger
step one: sand + stain your board
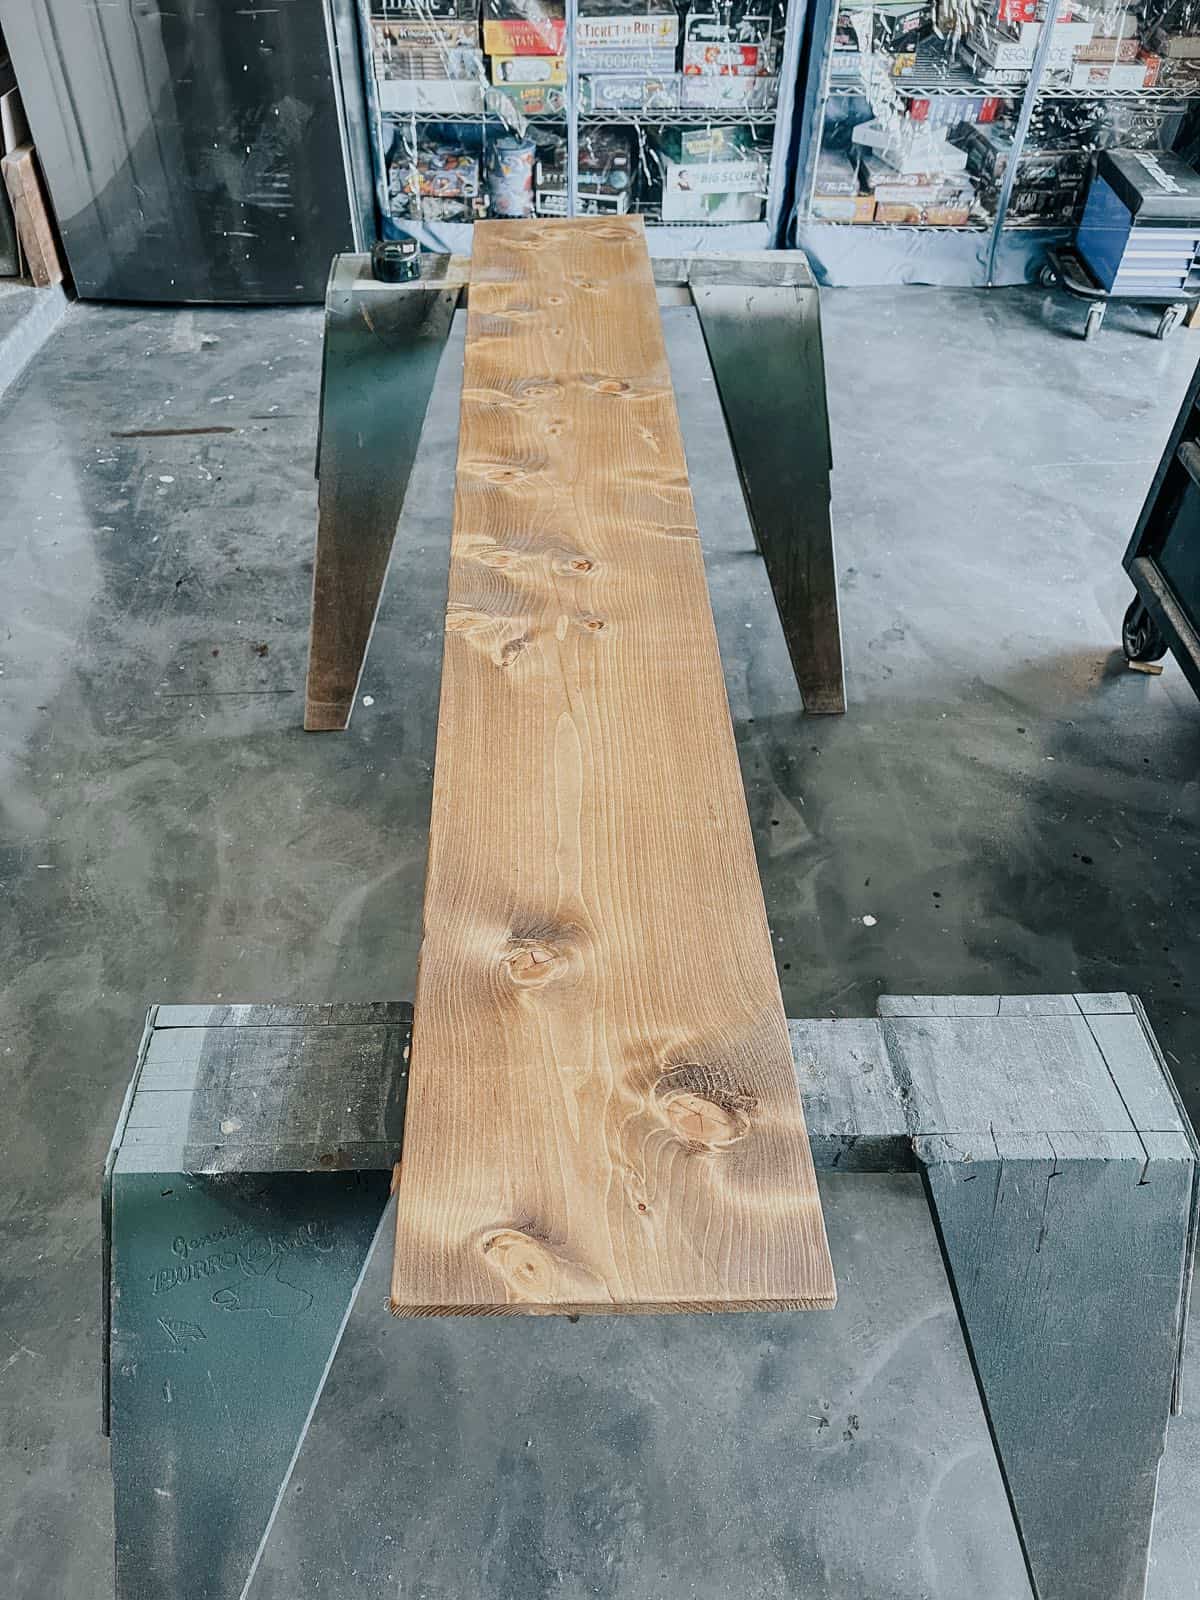
No matter what kind of wood you’re using, the first step is to thoroughly sand it. Your babies will be leaning up against it and touching it all the time, so you want to make sure it’s smooth and splinter-free. I started with 120-grit, then 220-grit, and finished with 400-grit for a really smooth finish.
After sanding, remove any sawdust with a lint-free cloth, and you’re ready to stain. Last time I did this, I did a chevron pattern on my board, but Parisa wanted something really simple and straightforward, so I just did a simple stain. I started with one coat of XXX and added a light coat of Dark Walnut on top.
If you feel overwhelmed by staining and you’re not sure where to start, just click here for my full tutorial on how to stain wood.
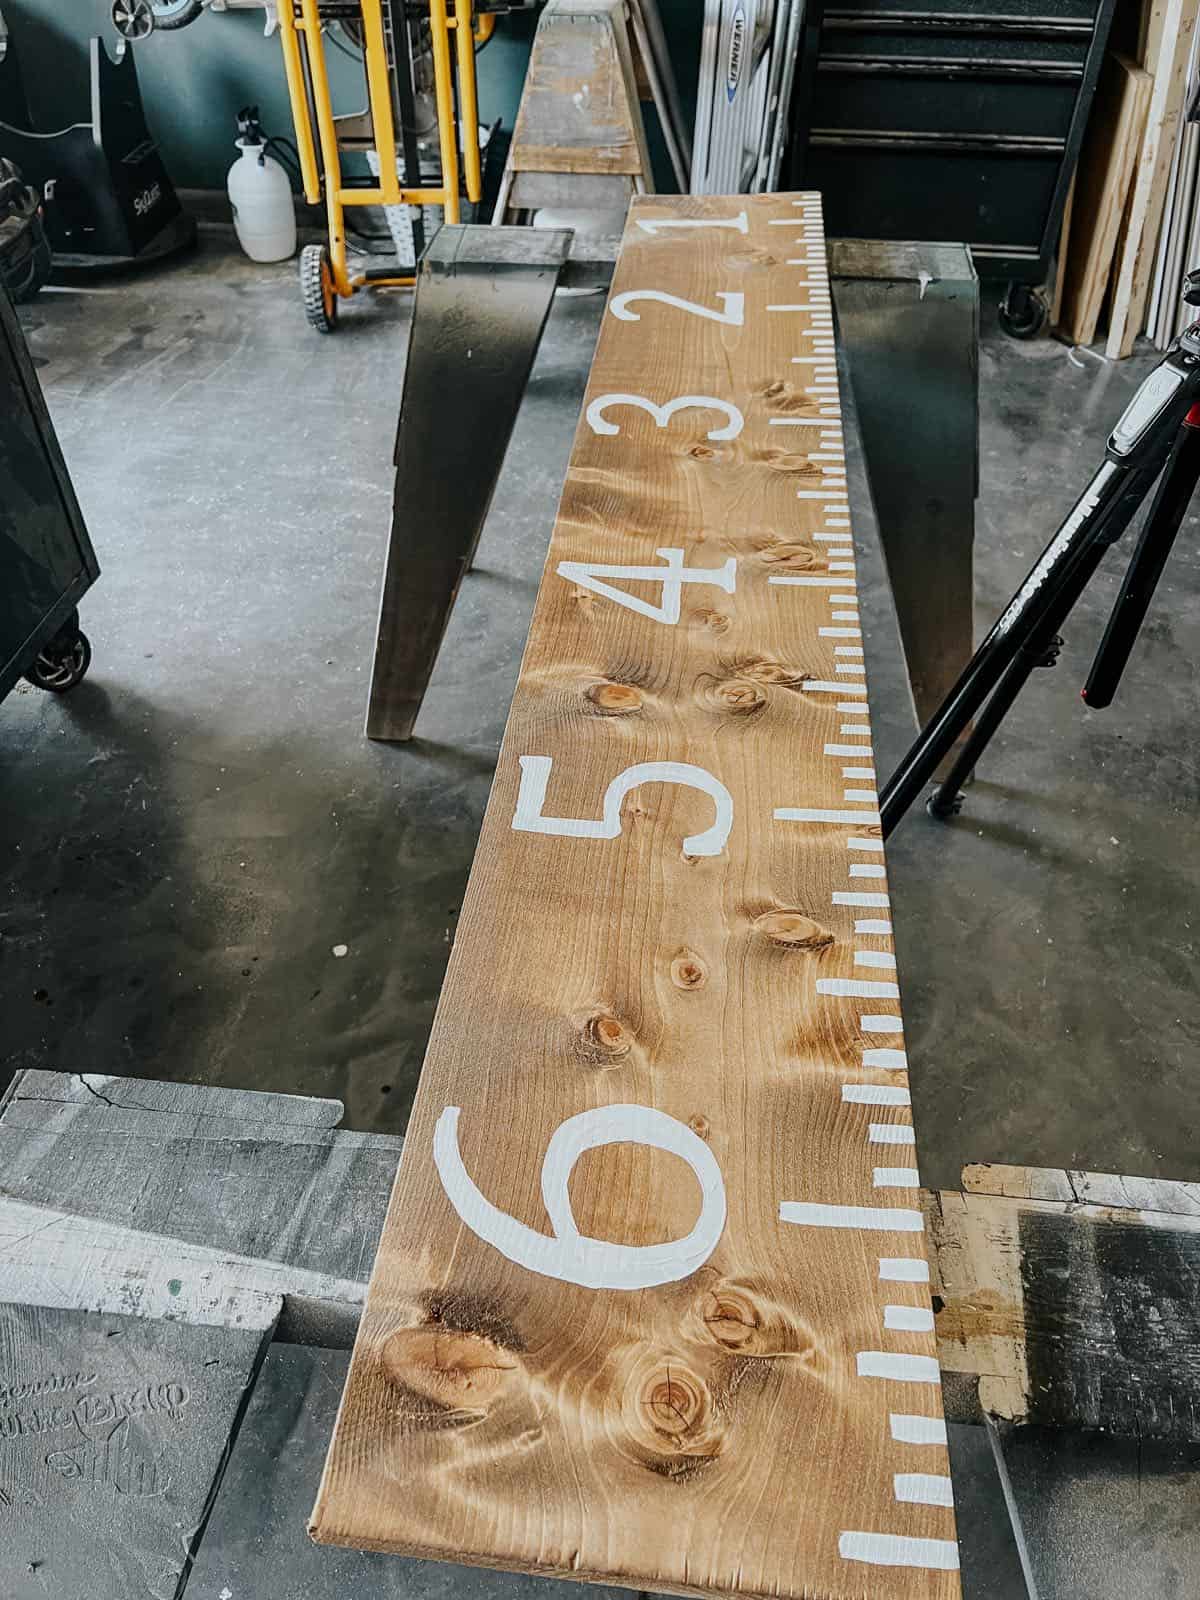
step two: Paint markings
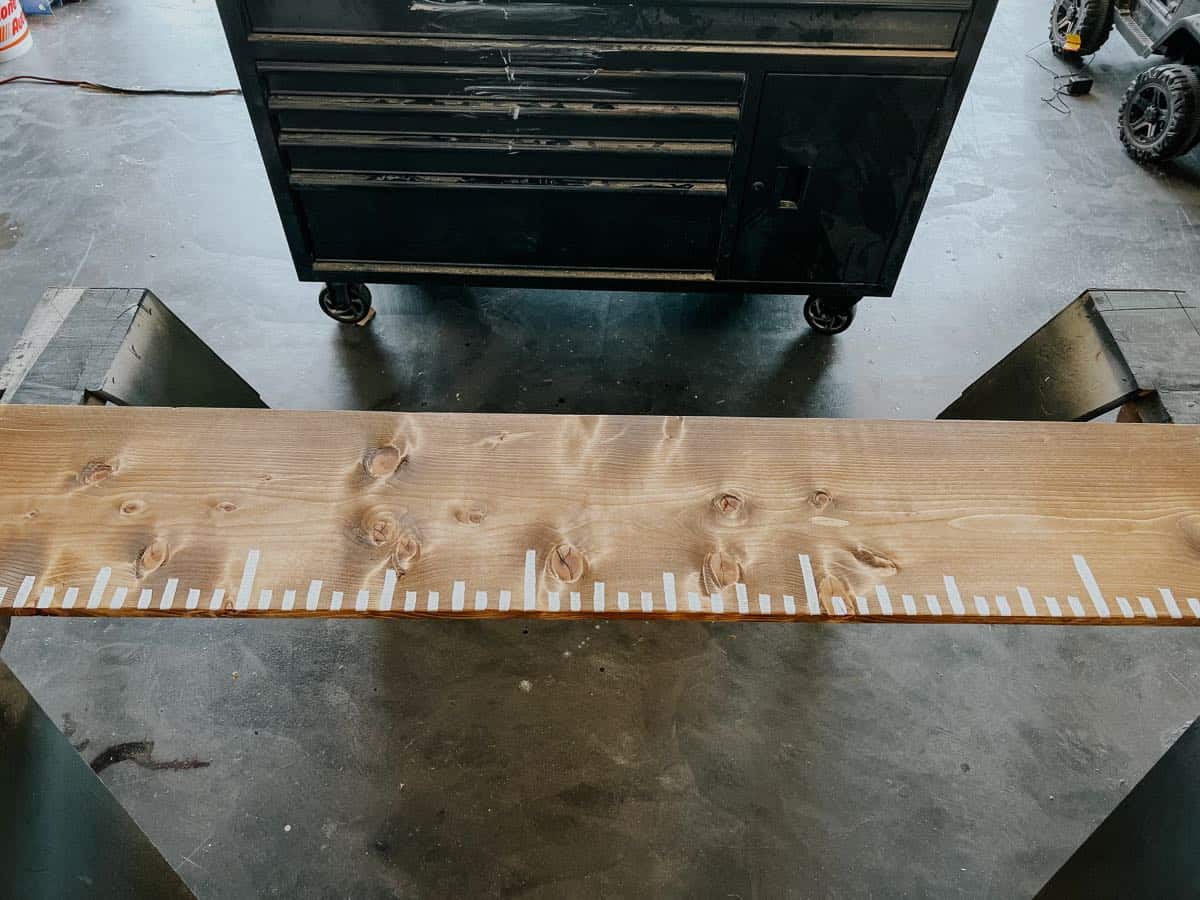
I like to do my growth charts kind of in the style of a ruler. It makes it easier to measure the kids and it’s really easy to make, too!
I do this part (and painting the numbers) by hand. If you’d prefer to use vinyl, that’s totally an option as well.
When you’re making your ruler markings, one important thing to keep in mind is how high off the ground you plan to hang your growth chart. That will affect where your first foot marking goes! I hang mine 7″ off the ground every time. So, my 1′ marking is 5″ from the bottom of the board. Everything after that is normal.
Here are the markings I made on the growth chart:
- 3-inch long lines to mark each foot.
- 2-inch long lines to make the 6″ marks
- 1.5-inch long lines to mark 3″ and 9″
- And 1″ marks every inch after that
When you’re done, it will look a little something like this:
Step Three: Paint Numbers
Once the markings for the inches are on and dried, it’s time to paint the numbers.
I like to paint these by hand, but you could use a stencil, or you could use vinyl. Here’s my method for painting the numbers:
- Print out the numbers in a font you like (I used Cambria), and make sure they’re large enough to cover a fair amount of space on your board. I sized them so that they’re each 6.5″ tall.
- Use a pencil to shade in the back of each paper, in an outline around the number. Do a pretty heavy coating of lead here!
- Flip the paper over, place it where you want to paint the number, and use a pencil or other pointed object (I used a nail setter) to trace the number, pressing hard as you work.
When you lift the paper, there should be a faint outline of the pencil mark for you to use while you’re painting!
Click here for another transfer method I really like, if you find this one isn’t working for you.
After getting the pencil outline in place, I just used some small artist’s brushes and white paint to paint all of the letters. It’ll require two coats – the first one is just to get the outline in place, and the second one will add some good coverage and make it look nicer! If you want to minimize brush strokes, I recommend a light sanding in-between coats!
Optional: You can add a coat of Polyurethane once everything dries to seal it and help protect it when it’s hanging!
Step four: hang it up!
Once it’s all dry, you can add a picture hanger of some sort to the back of it and hang it on the wall! Remember to measure 7″ (or whatever you decided) up from the ground for the bottom of the growth chart, or else your measurements will all be off!
I used this picture hanger on this growth chart. And, of course, before I hung it up, I took a minute to add on all of the measurements that we erased from Darya’s walls!
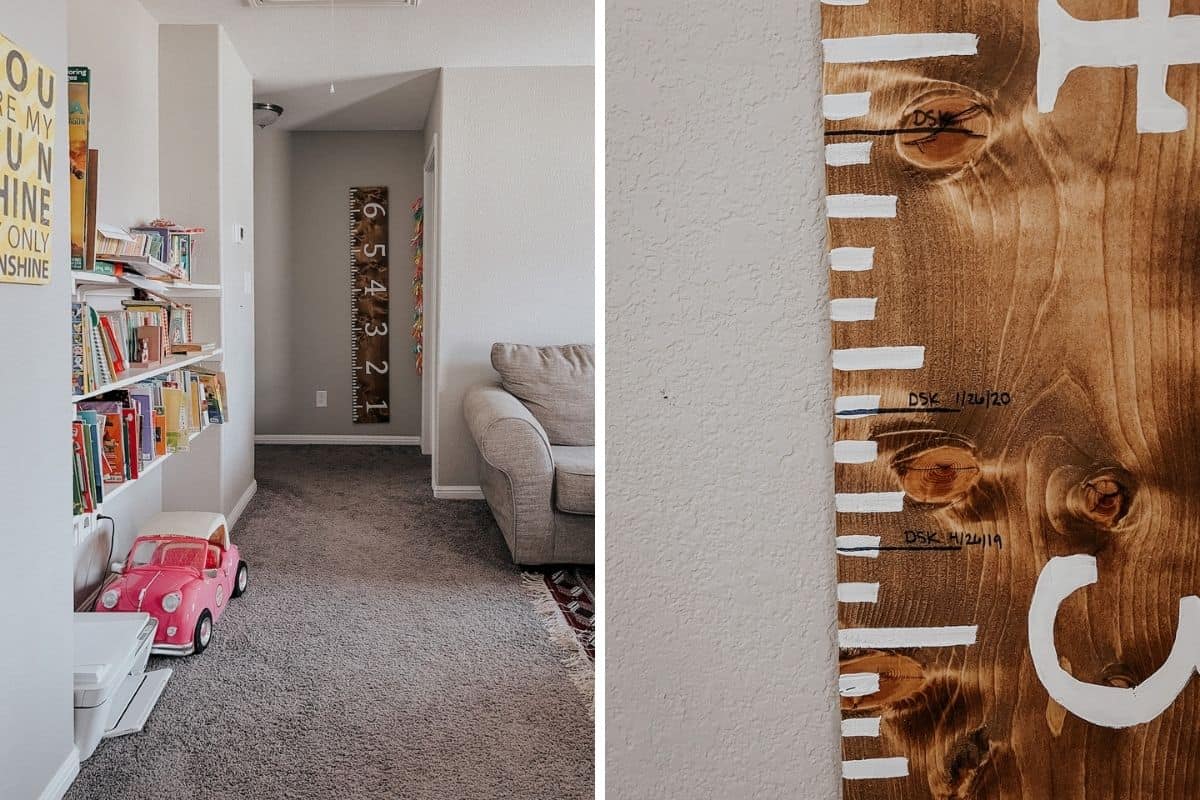
It turned out really cute, and I’m so glad I could help them preserve these really precious memories. Now, if they ever leave this house, they can bring it with them and not lose a thing!
Other projects you might love
- DIY board & batten wall
- How to build a blanket ladder
- Adding a rainbow stripe to the camper
- DIY globe art
The post DIY Wooden Growth Chart appeared first on Love & Renovations.