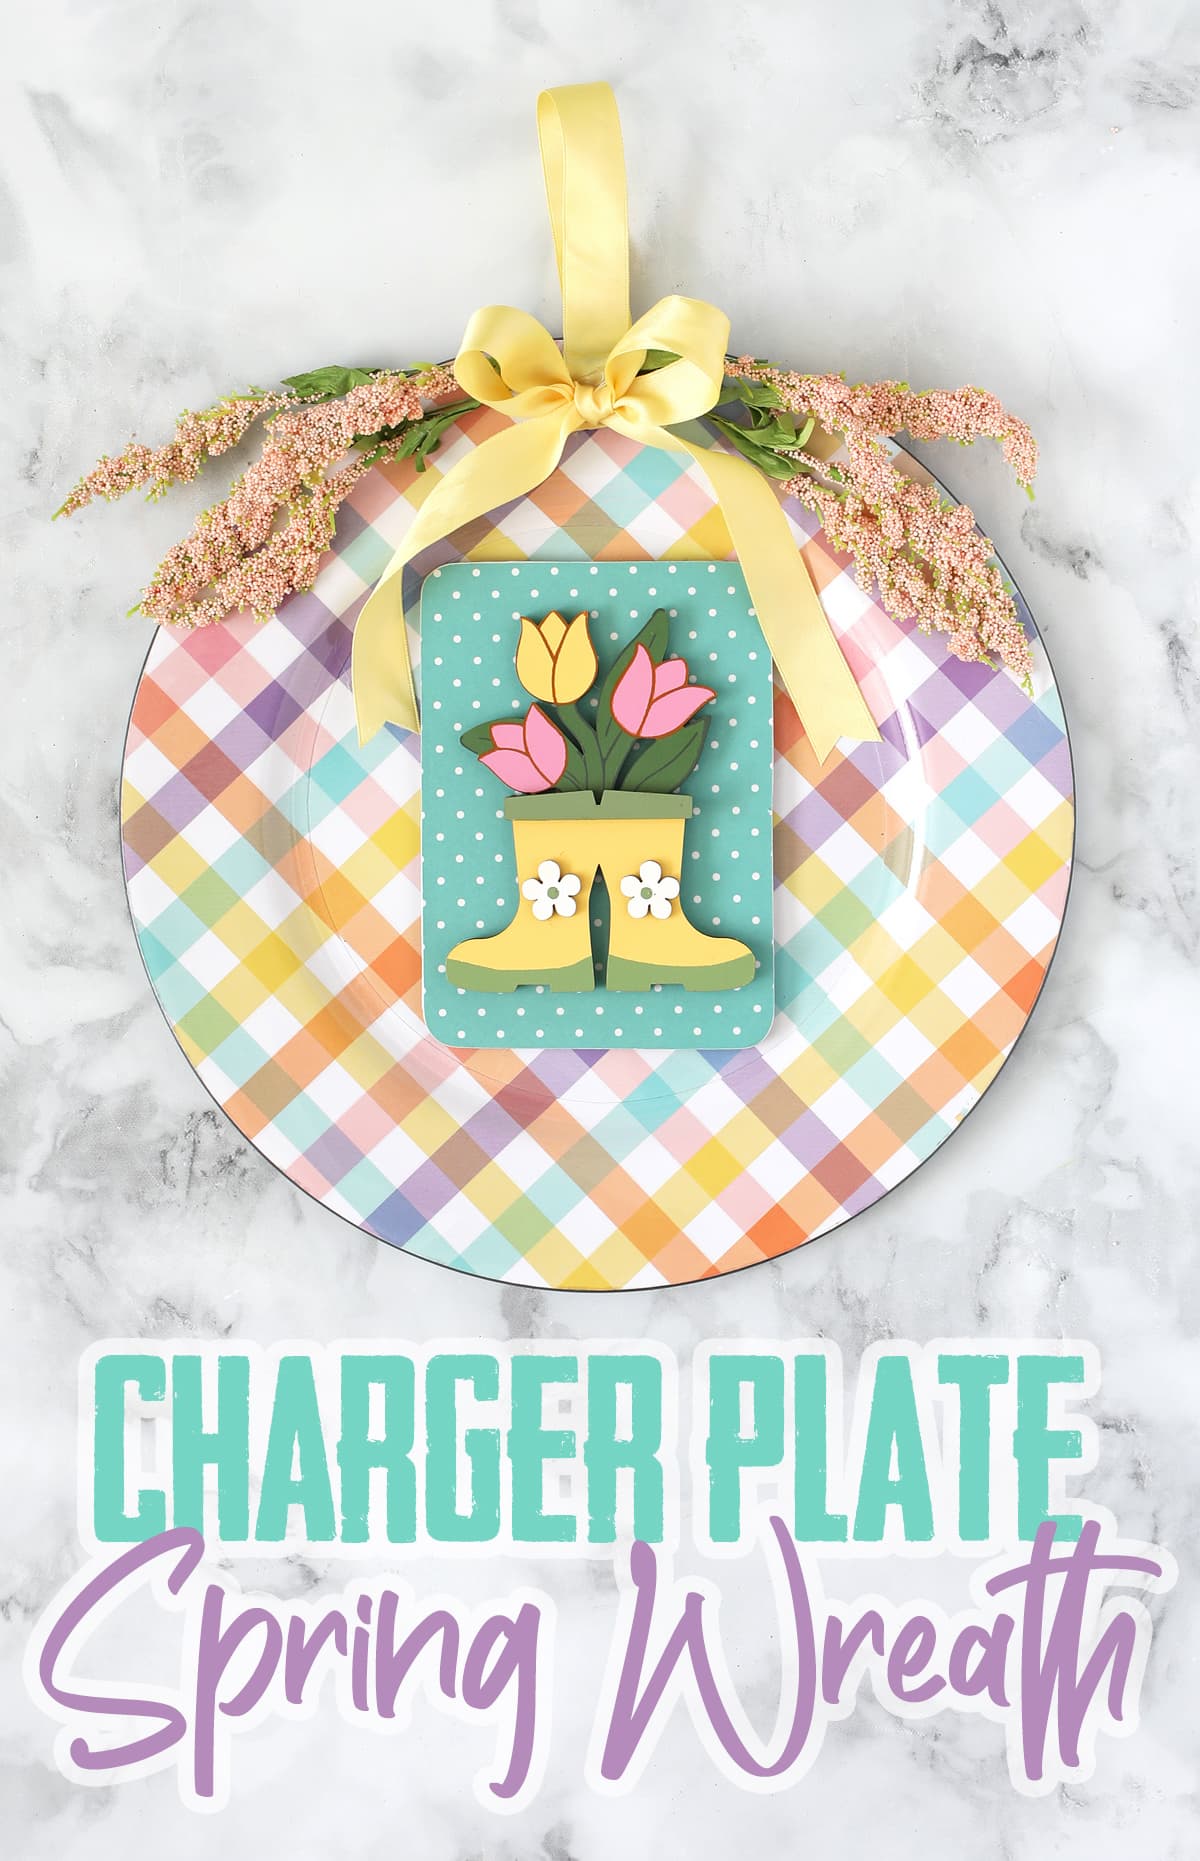
Turn a melamine charging plate into a cute door hanger wreath for spring.
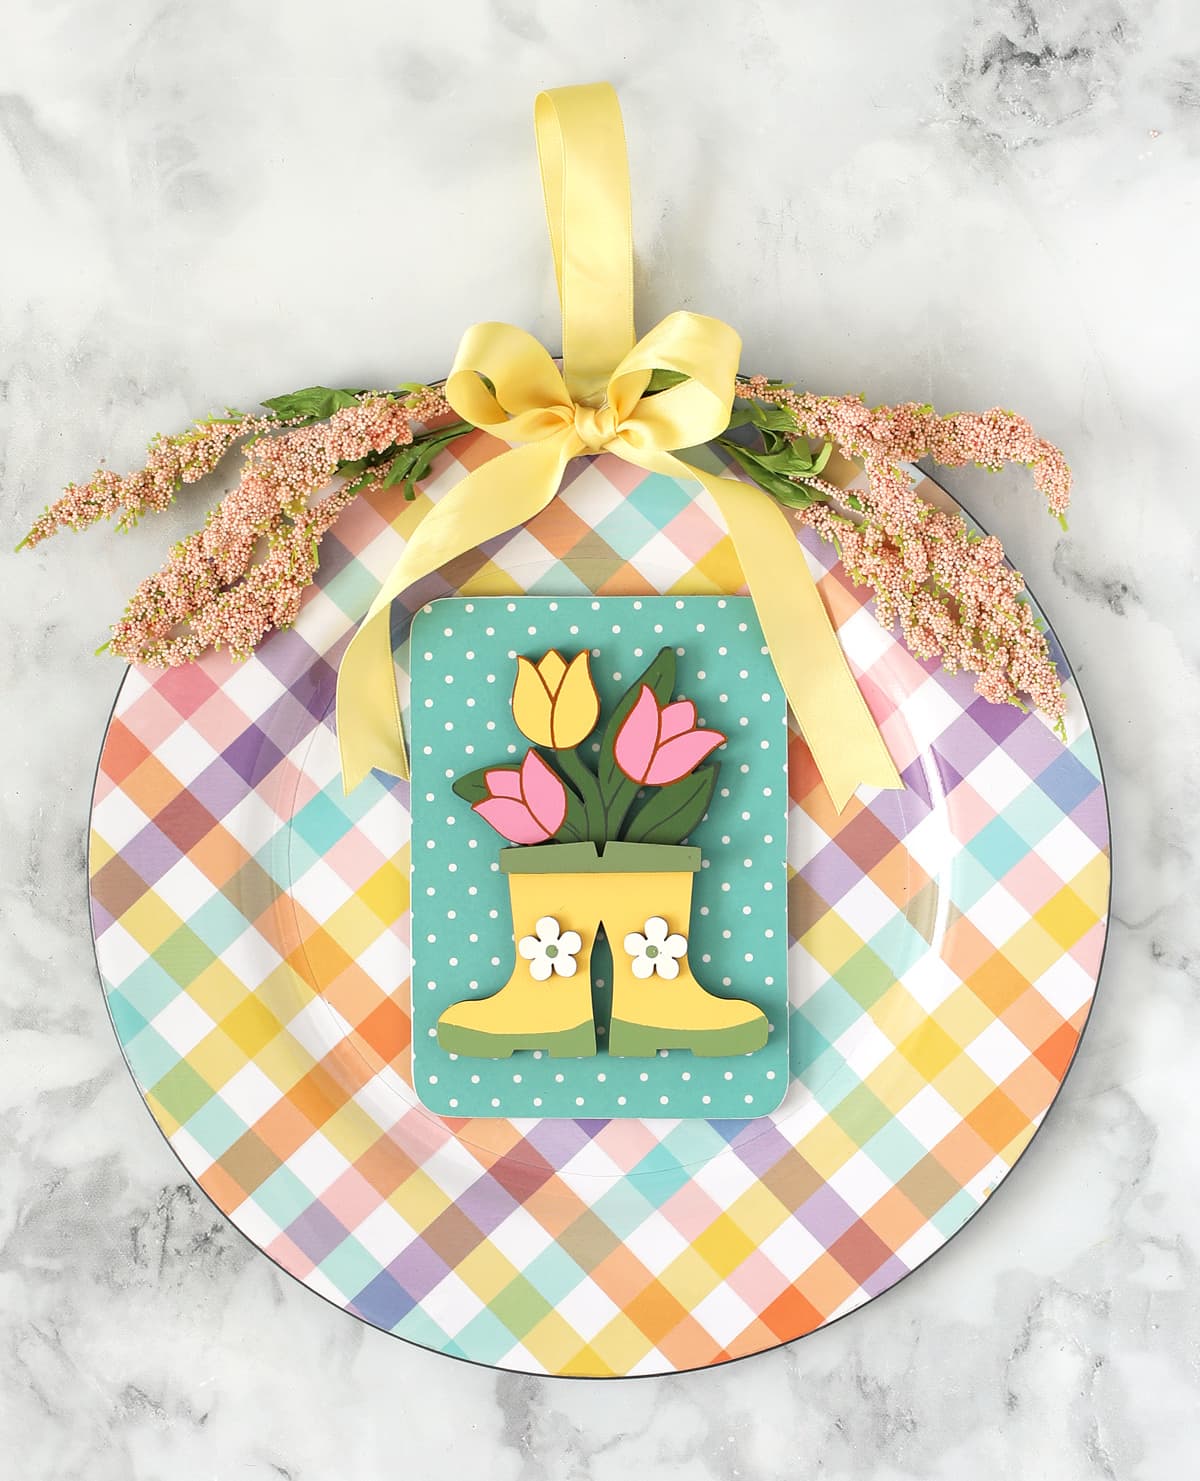
I was walking around at Michael’s the other day and fell head-over-heals in love with this charging plate in the Easter section. The bright colored plaid is just so cute! Right then and there I decided to turn it into a door hanging so I would have an excuse to buy it. LOL.
I’ve made a charger plate into a door hanger before and it turned out great. You can see the fall charger plate wreath here. This is a fun and easy craft project that pretty much anyone can do. I’ve got a few tips to help you along the way, so follow along with the instructions and don’t miss the video tutorial at the end of the post.
Let me show you how to make your very own spring charger plate door hanging.
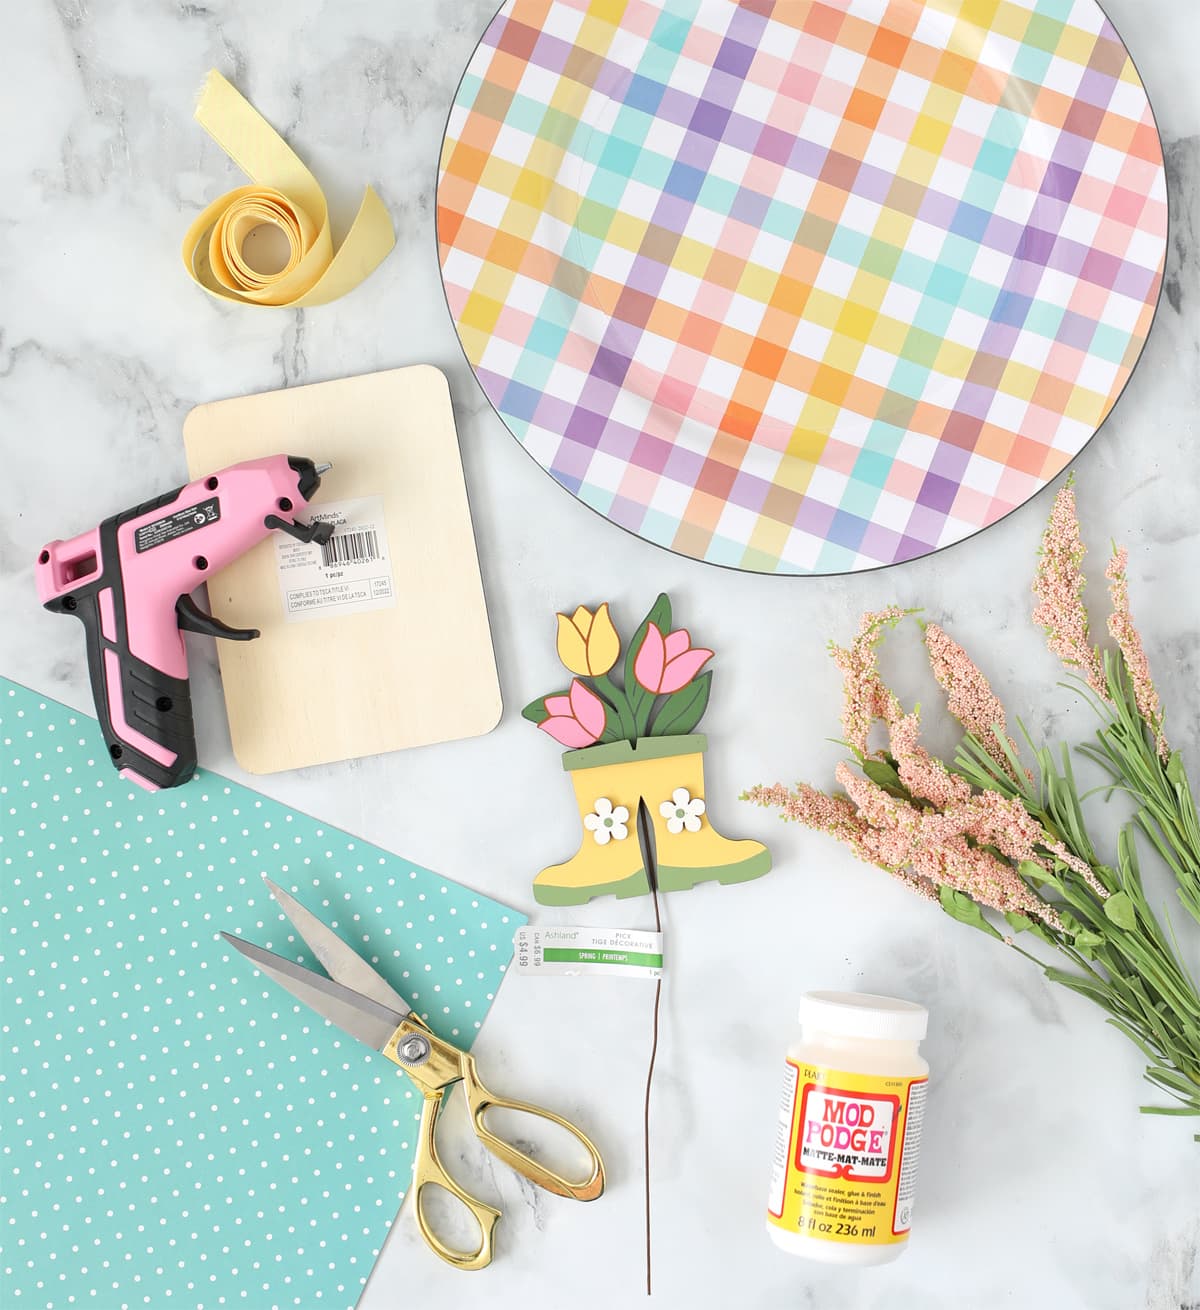
Materials Needed
- Charger Plate
- Ribbon
- Floral Stems
- Florist Wire
- Wooden Rectangle
- Spring Wood Shape
- Scrapbook Paper
- Mod Podge
- Painter Pyramids
- Paint Brush
- Scissors
- Hot Glue Gun and Glue Sticks or E-6000 Glue
- Sandpaper
Instructions
Be sure to watch the video at the end of this post if you have any questions about how to make this craft.
Step 1- Cut a piece of scrapbook paper just slightly larger than the wooden rectangle. Apply a thin layer of Mod Podge to the wood, then press the scrapbook paper in place, smoothing out any air bubbles.
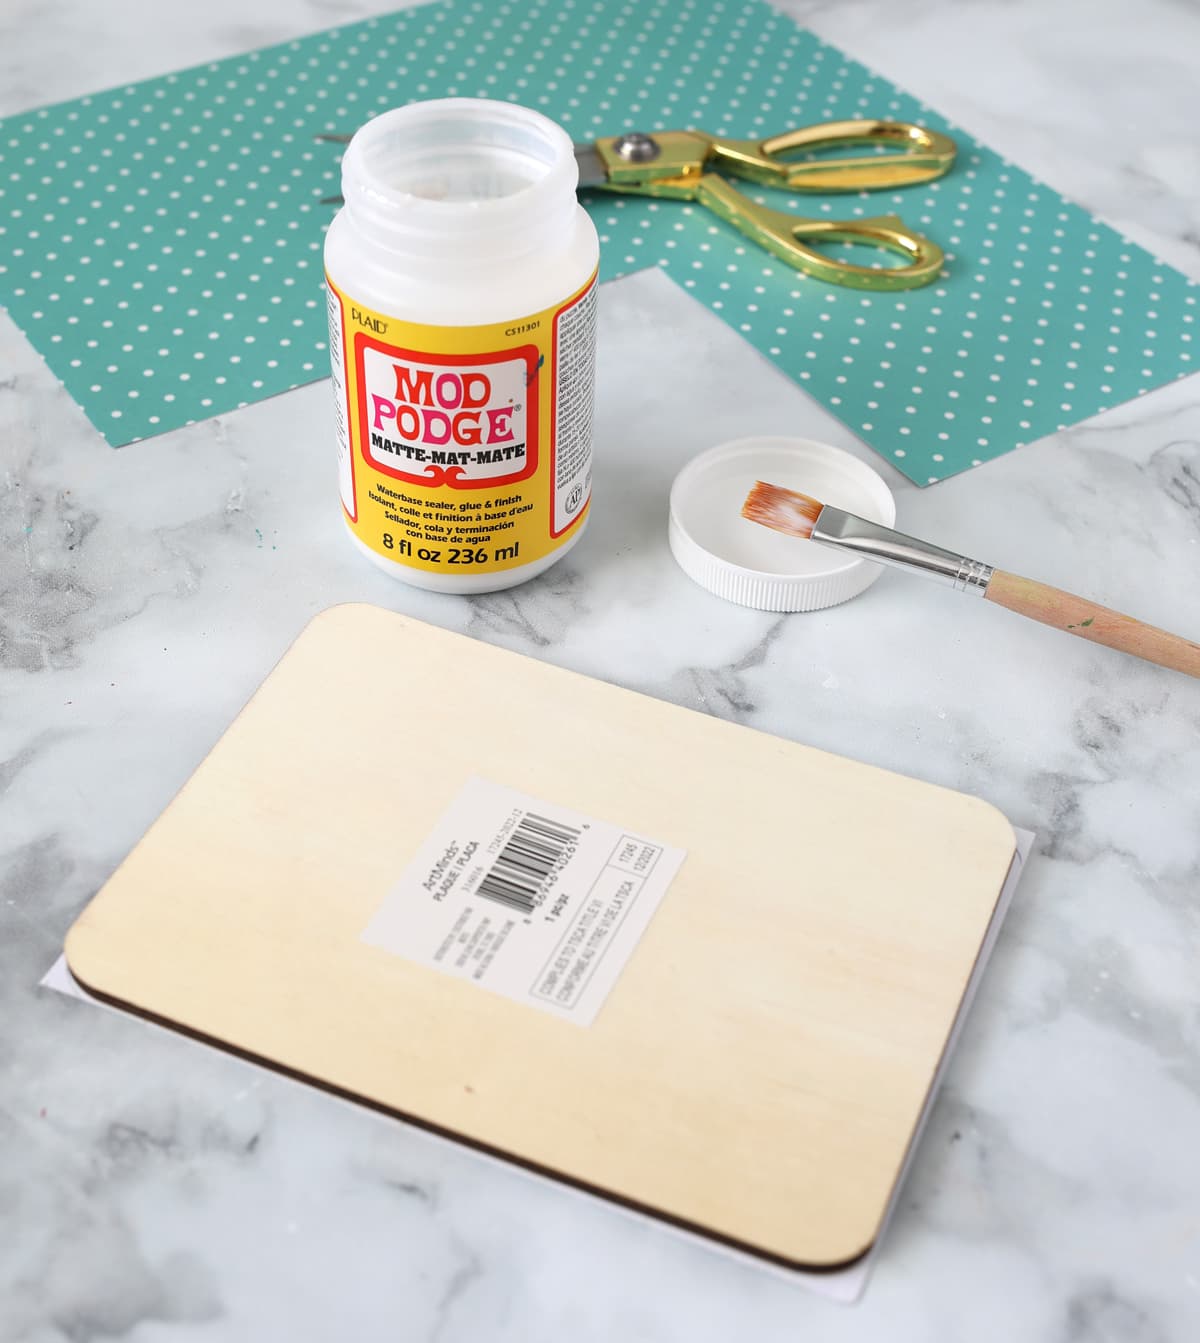
Step 2- Use sandpaper to sand away any excess paper hanging off the edges of the wood. This works best if you stroke the sandpaper from front to back so the paper doesn’t lift up. This is the trick to getting perfect edges any time you attach paper to wood. Sanding gives you perfect edges!
Step 3- Apply a top coat of Mod Podge to the paper to help it hold up to the elements outside.
Step 4- Make a swag of spring floral stems and use florist wire to hold them together in the middle.
Step 5- Attach the end of a piece of ribbon to the charger plate. Glue the center of the swag to the ribbon, then fold the ribbon back down over the florals and glue them in place. This will be the hanging loop. Glue a decorative bow over the bottom of the ribbon loop to hide the seams and for extra cuteness.
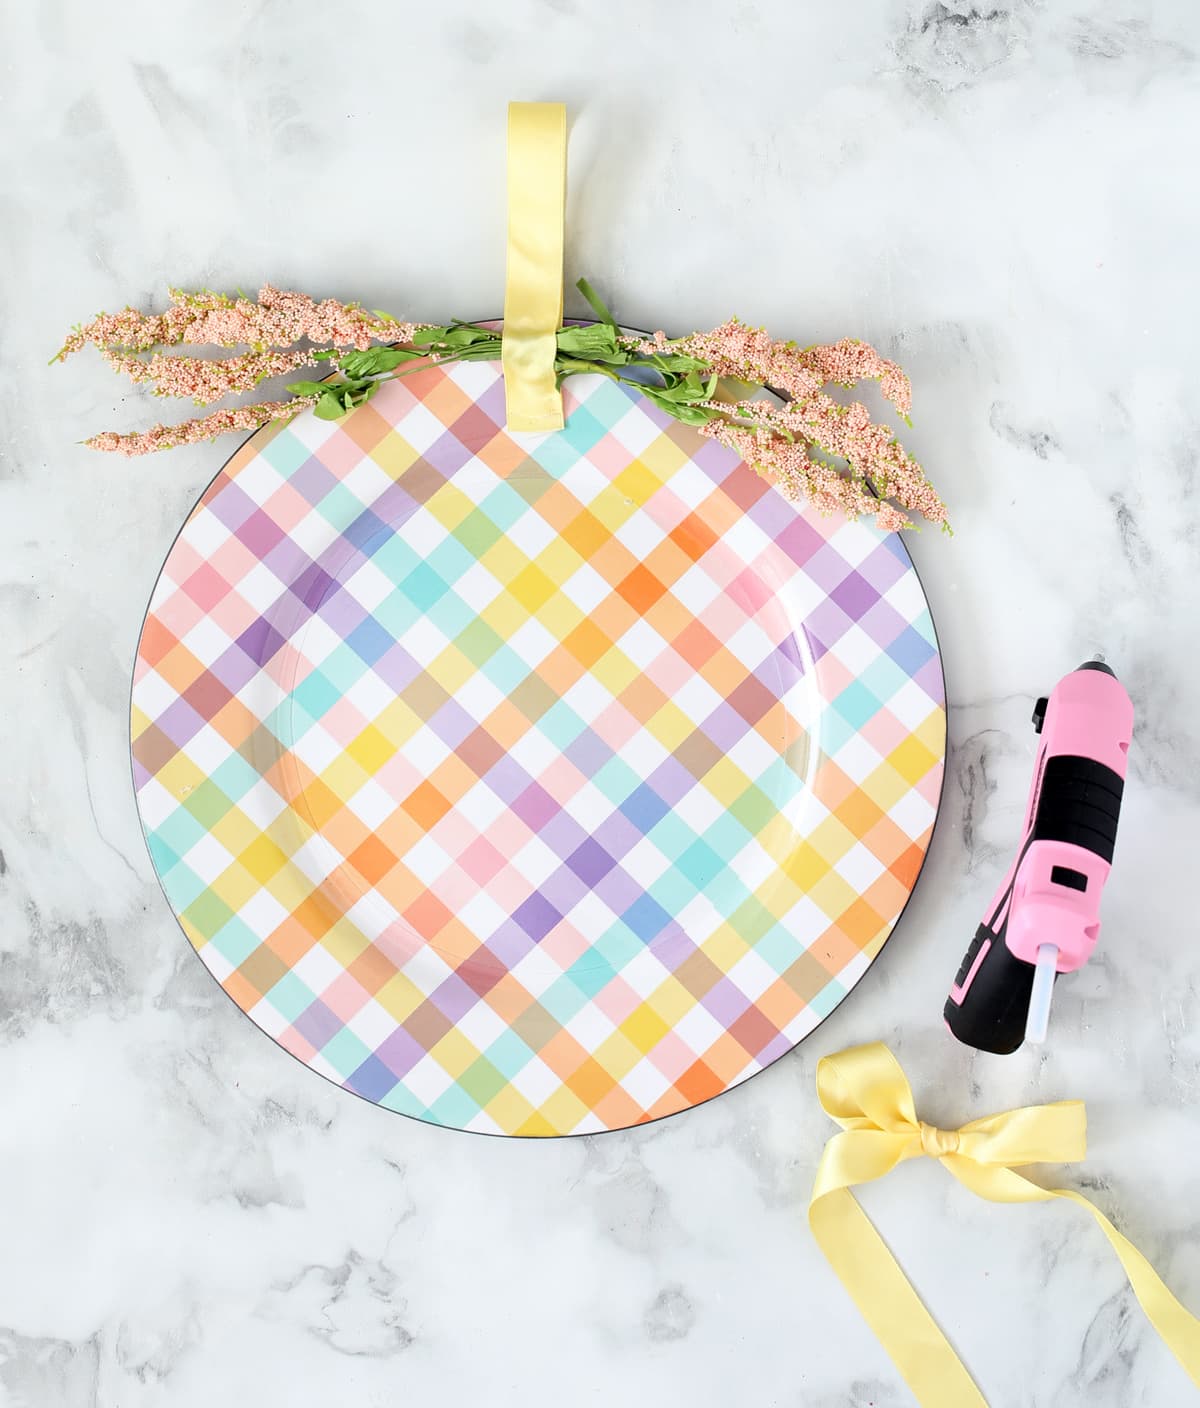
Step 6- Remove the wire from the decorative wooden pick. When the Mod Podge is dry on your rectangle, glue the boots onto the rectangle, then glue the rectangle onto the charger plate.
A NOTE ABOUT GLUE: I used hot glue for this project, but if your plate will be in a hot, sunny area, sometimes that can cause the hot glue to melt and your project will come unglued. If that’s a possible problem for you, I recommend using the E-6000 glue instead. I have no hopes that it will get that hot on my door this spring… it’s way too cold here for that! Waaaaaaaaaa… that’s me crying. I miss warm sunshine.
Once the glue is dry, your charger plate wreath is ready to hang on your front door this spring!
Spring Charger Plate Door Hanger Video Tutorial
Like this project? Pin it!
The post Easy Spring Charger Plate Door Hanger appeared first on The Craft Patch.
