

Are you sewing a Closet Organizer with me? I hope so! This is Part 2 of our free sewing tutorial for an amazing organizer with 6 pockets and a coat hanger inside so you can hang it anywhere.
If you are getting started, make sure you start at Part 1 of the free pattern.
If you have just come from Part 1, let’s continue…

Sew Pockets 1, 2, and 3
Use a 1/2’’ seam allowance.
1. Fold the fabric rectangle for Pocket 1 (17’’ x 19’’) in half with the longer (19’’) edges right sides together. Sew across the long edge with a 1/2’’ seam allowance.
Turn the pocket right side out through one end and press it flat.

2. Topstitch along the seam, 1/8’’ from the edge.

3. Repeat to make Pockets 2 and 3.
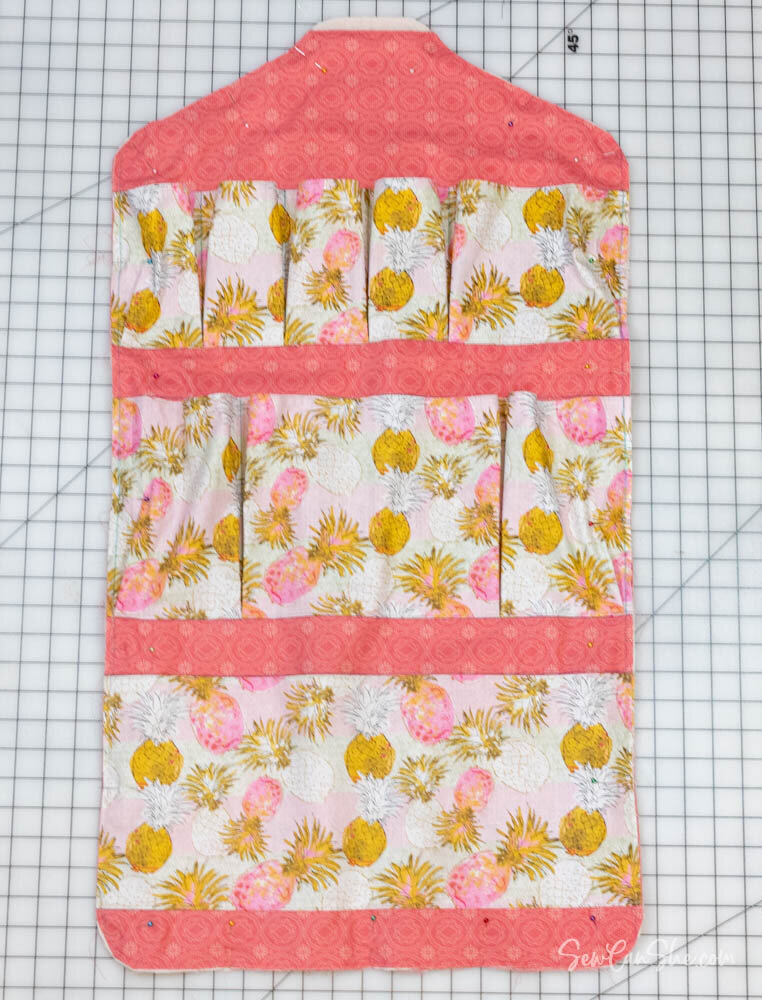
Pocket 1 is 8’’ x 19’’ (bottom).
Pocket 2 is 8’’ x 25’’ (middle).
Pocket 3 is 6’’ x 29’’ (top).

Mark the Dividing Lines on Pockets 2 and 3
1. Use the frixion pen or fabric marker to mark 4 lines on Pocket 2:
The first two lines should be 1/4’’ away from the side edges.
The last two lines divide the pocket as shown above.

2. Use the frixion pen or fabric marker to mark 6 lines on Pocket 2:
The first two lines should be 1/4’’ away from the side edges.
The last four lines divide the pocket as shown above.


Attach the Front Pockets
Refer to the diagram that you used to mark the front of the organizer to see where each pocket should be sewn.
1. Place Pocket 1 in the correct spot shown in the marking diagram. Pin the sides and bottom of the pocket in place.

2. Sew across the bottom edge of the pocket, 1/8’’ away from the edge.

3. Baste the side edges of the pocket in place 1/4’’ from the edge.
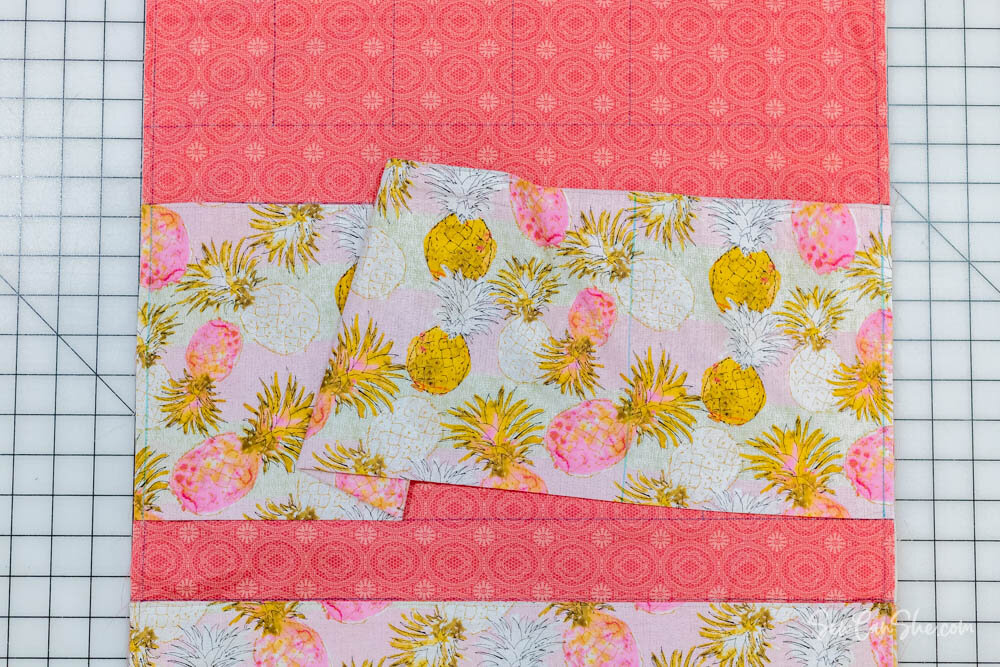
4. Place Pocket 2 in the correct spot shown in the marking diagram. Pin the sides in place - the pocket is wider than the organizer, so there will be extra fabric in the middle.
Sew the sides of the pocket in place 1/4’’ from the edges - along the marked lines.

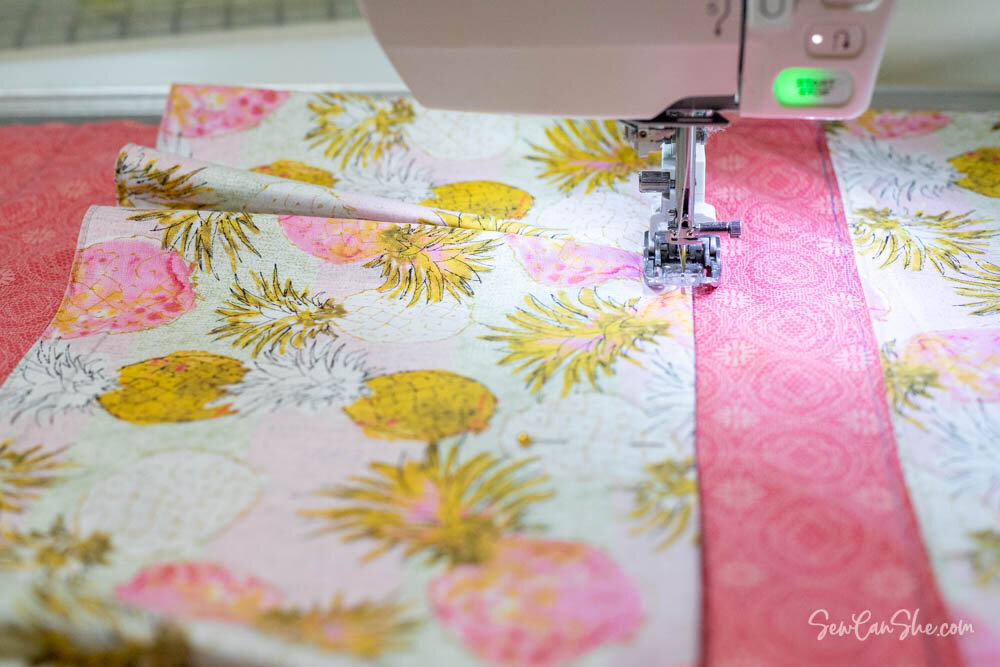
5. Match the lines marked on Pocket 2 to the lines marked on the organizer underneath. Place 2 or 3 pins along each line.

6. Sew along each line, starting at the bottom and ending at the top. Be sure to backstitch neatly at the top and bottom of each line.

7. Make two equal pleats at the bottom corners of each pocket section so the bottom edge of the pocket is flat. Place a pin on each pleat and pins in the middle of the sections as needed.
8. Sew across the bottom of the pocket 1/8’’ from the edge, securing the pleats as you go.

9. Pocket 3 is attached in the same way as Pocket 2.
Place Pocket 3 in the correct spot shown in the marking diagram. Pin the sides in place - the pocket is wider than the organizer, so there will be extra fabric in the middle.
Sew the sides of the pocket in place 1/4’’ from the edges - along the marked lines.

10. Match the lines marked on Pocket 3 to the lines marked on the organizer underneath. Place 2 or 3 pins along each line.
Sew along each line, starting at the bottom and ending at the top. Be sure to backstitch neatly at the top and bottom of each line.

11. Make two equal pleats at the bottom corners of each pocket section so the bottom edge of the pocket is flat. Place a pin on each pleat and pins in the middle of the sections as needed.
Sew across the bottom of the pocket 1/8’’ from the edge, securing the pleats as you go.
The Front is done!
Make and Attach Pocket 4
Use a 1/2’’ seam allowance
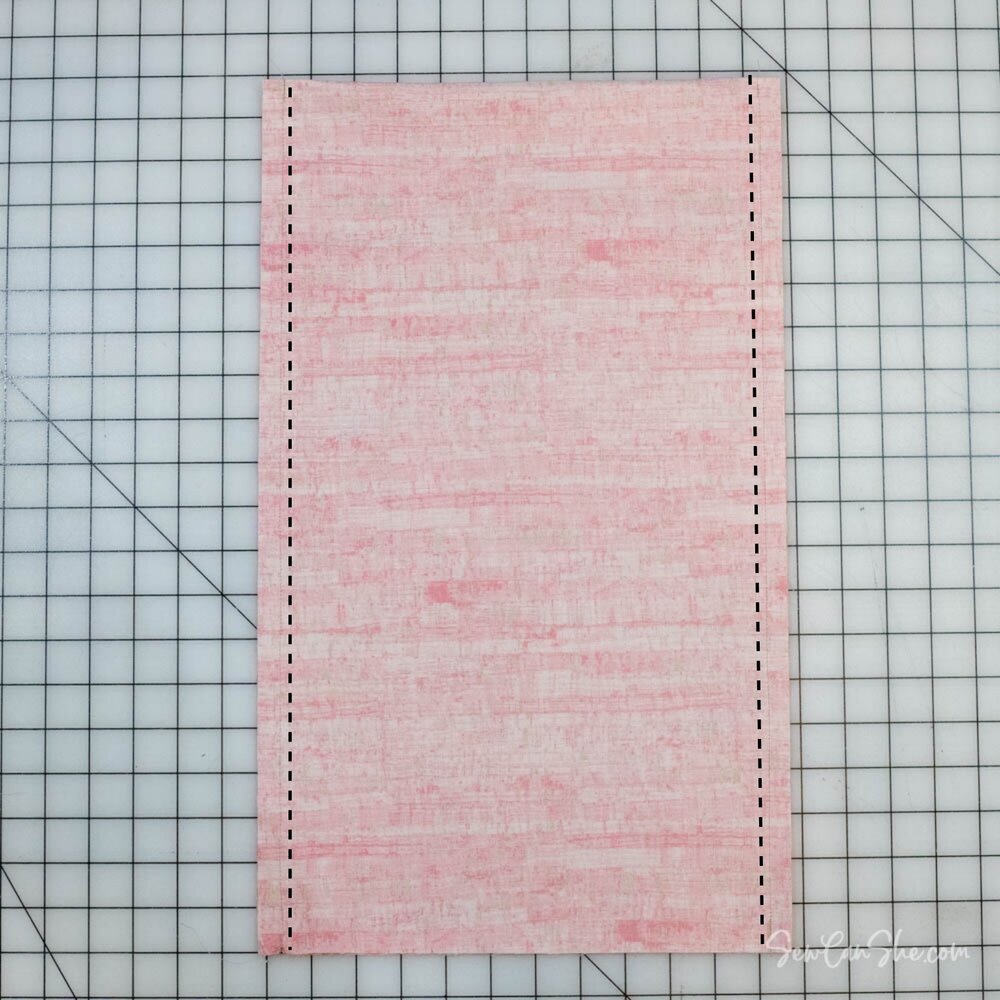
1. Fold the fabric rectangle for Pocket 4 (40’’ x 12’’) in half with the 12’’ edges together.
Sew along the long side edges with a 1/2’’ seam allowance.

2. Turn the pocket right side out and press flat. Topstitch across the folded edge, 1/8’’ from the edge.
Pocket 4 should be 20’’ x 11’’ with raw edges at the bottom


Refer to the diagram that you used to mark the back of the organizer to see where the back pockets should be sewn.
3. Place Pocket 4 in the correct spot shown in the marking diagram. Pin the sides of the pocket along the marked lines.

4. Sew the sides of the pocket, 1/8’’ from the edge.


5. Make two equal pleats at the bottom corners of Pocket 4 so the bottom edge of the pocket is flat. Place a pin on each pleat and pins in the middle of the pocket as needed.
Sew across the bottom of the pocket 1/4’’ from the edge, securing the pleats as you go.

Make and Attach Pocket 5
Use a 1/2’’ seam allowance
1. Fold the fabric rectangle for Pocket 5 (20’’ x 12’’) in half with the 12’’ edges together. Sew along the 10’’ side edges with a 1/2’’ seam allowance.
2. Turn the pocket right side out and press flat. Topstitch across the folded edge, 1/8’’ from the edge.
Pocket 5 should be 10’’ x 11’’ with raw edges at the botttom.

3. Place Pocket 5 in the correct spot shown in the marking diagram. Pin the sides of the pocket along the marked lines.
Sew the sides of the pocket, 1/8’’ from the edge.

4. Make two equal pleats at the bottom corners of Pocket 5 so the bottom edge of the pocket is flat. Place a pin on each pleat and pins in the middle of the pocket as needed.
Sew across the bottom of the pocket 1/4’’ from the edge, securing the pleats as you go.

Make and Attach Pocket 6
Use a 1/2’’ seam allowance
1. Fold the fabric rectangle for Pocket 6 (19’’ x 12’’) in half with the 12’’ edges together. Sew around the raw edges, leaving a 4’’ opening for turning on the top edge. Clip the corners.

2. Turn the pocket right side out and press flat. Topstitch across the top edge, 1/8’’ from the edge, closing the opening at the same time.
Pocket 6 should be 9’’ x 11’’ with no raw edges.

3. Place Pocket 6 in the correct spot shown in the marking diagram. Pin the sides of the pocket along the marked lines.
Sew the sides of the pocket, 1/8’’ from the edge.

4. Make two equal pleats at the bottom corners of Pocket 6 so the bottom edge of the pocket is flat. Place a pin on each pleat and pins in the middle of the pocket as needed.
Sew across the bottom of the pocket 1/8’’ from the edge, securing the pleats as you go.
The Back is done!
Sewing the Closet Organizer Front and Back Together
1. Place the front and back of the organizer together with the linings facing each other. Pin all the way around.

2. Sew the front and back together all the way around with a 1/4’’ seam allowance.
Start sewing at the top near the finished edge on the front piece. Do not sew across the finished edge - this is the opening.

Sew all the way around and end at the top on the other side of the opening.

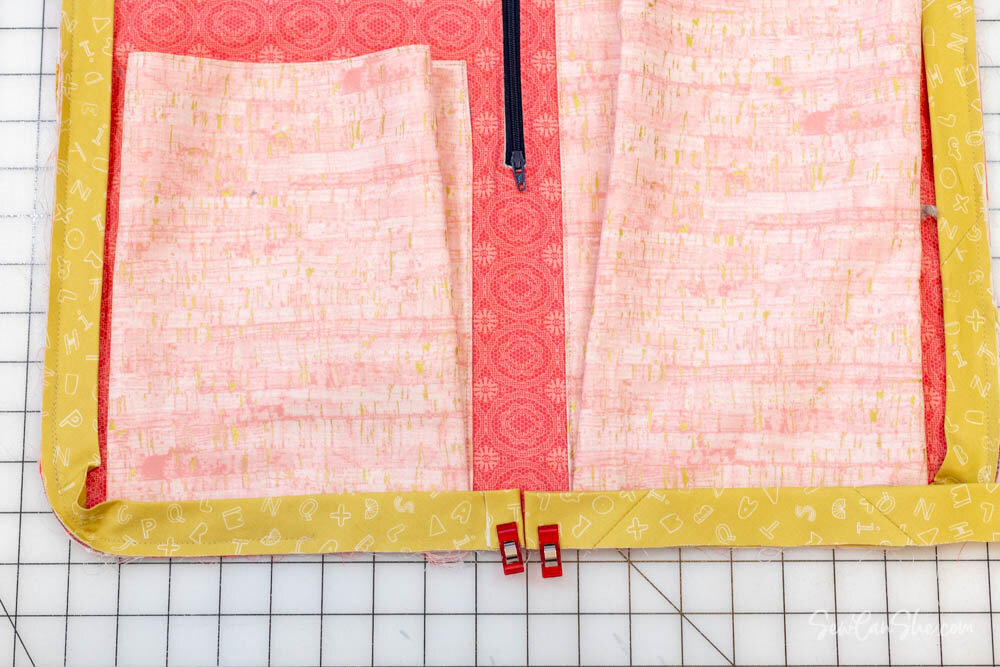
BIND THE RAW EDGES
The binding is attached in a continuous loop so it doesn’t matter where you begin - except that I like to start and end in an inconspicuous spot. I chose the bottom of the organizer.
1. Fold the 2 1/4’’ x 3 yard piece of bias binding in half lengthwise and press. Clip one end to the bottom edge on the back of the organizer.

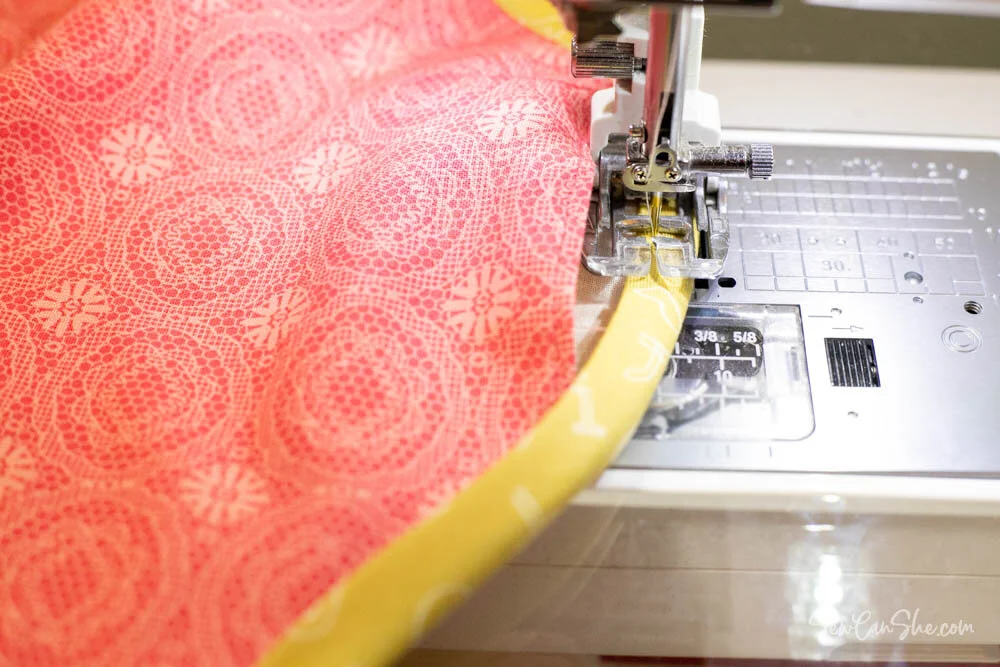
2. Sew the binding on with a 1/4’’ seam allowance. Leave about a 4-6'‘ tail of binding free at the start.
Carefully curve the binding to sew around the curves and corners while maintaining a 1/4’’ seam allowance.

3. When you reach the side that you started on, stop sewing about 6’’ away from where you started sewing.
4. Bring the ends of the binding together and fold them back where they meet.
Use your fingernail to crease the folds in the binding.
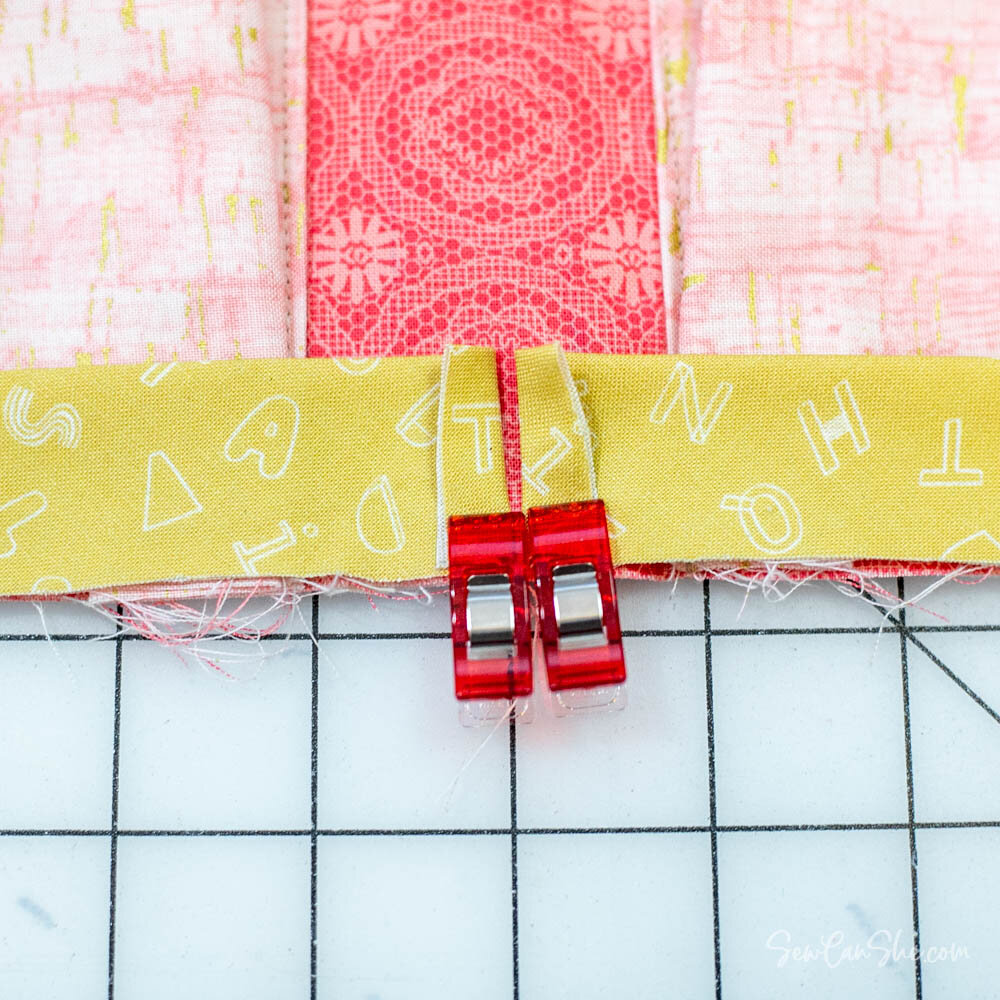

5. Cut the extra binding of 1/4’’ past the creased folds.
Bring the cut edges of the binding right sides together and stitch with a 1/4’’ seam allowance. Finger-press the seam open and re-fold the binding as before.

6. Finish sewing the binding to the back of the organizer.

7. Turn the binding to the other side of the organizer and stitch it down close to the fold.
As you sew around the top, take care not to catch the finished edge of the front piece under the binding. This forms the opening.

Also take care not to sew the top edge of the pockets under the binding.

And now your Closet Organizer is done! What are you going to store in it? Make sure you tell me in the comments.
This was a really long sewing tutorial! Don’t forget that I also prepared it in PDF format that has been optimized for printing.
As always, I’d love to see the projects you sew from my patterns and tutorials. Please post a picture to Instagram and tag me @sewcanshe or #sewcanshe so I can take a look!
xoxo,
